

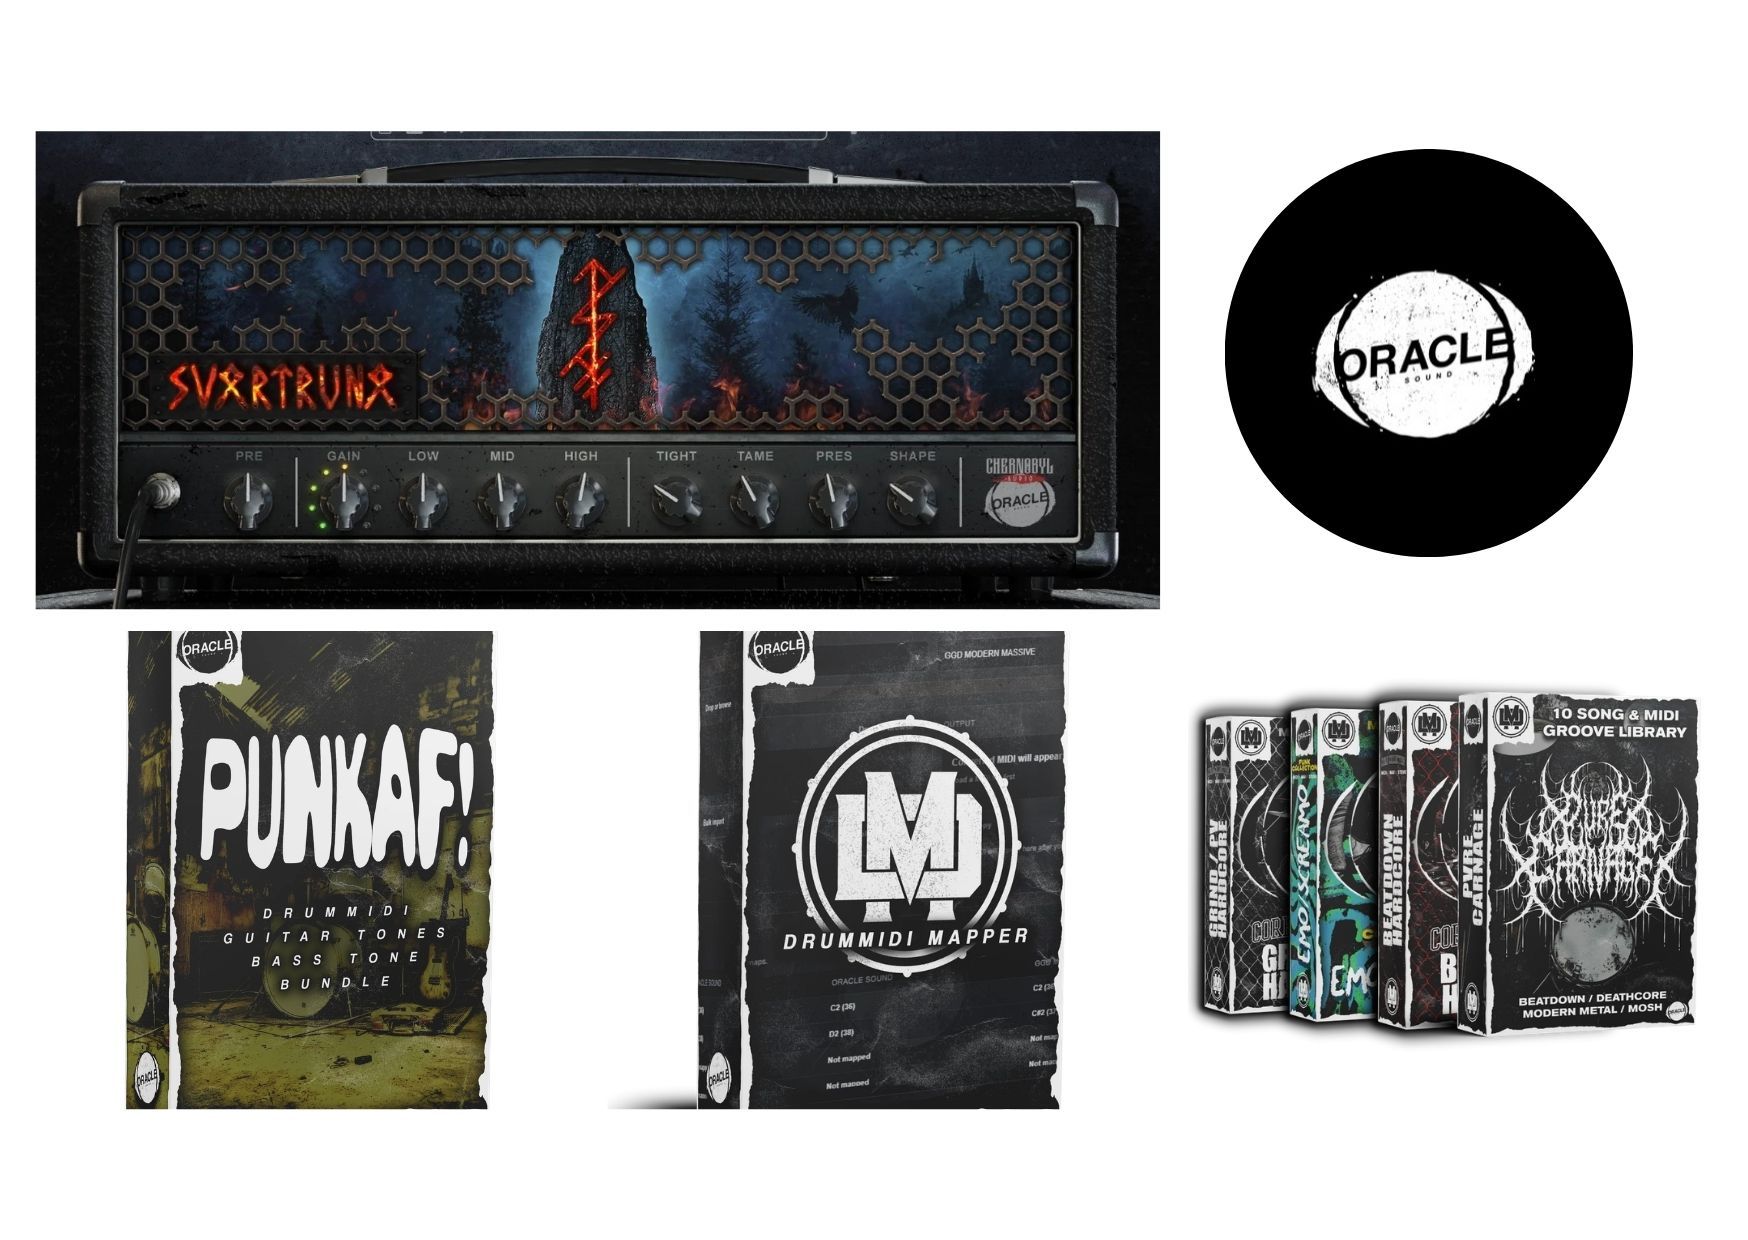
Start with signal flow and capture goals
A practical guitar tone starts before any modeling happens. Decide what you’re trying to record—clean sparkle, tight rhythm, or saturated lead—then match your signal chain to that goal. If you’re using a direct input from your guitar amp simulator interface, plan for a consistent input level so the amp modeling responds predictably. A stable gain structure helps you avoid chasing noise, clipping, or unnatural dynamics later in the workflow.
Next, think about the role of your “virtual mic” and room behavior. Real amps feel different depending on how they’re miked, but a simulator can help you emulate that by choosing mic positions, room size, and distance. Treat these as tools for translation: close mic placement usually yields more midrange bite, while farther placement can add depth and smoother highs. Write down your chosen settings as a starting preset so you can compare variations without losing what worked.
Dial the amp core: gain, EQ, and feel
Begin with gain and preamp level, then set tone shaping in a logical order. A common approach is to establish the distortion character first using gain and master controls, then adjust bass, mids, and treble to sit correctly in your mix context. If your sound feels flubby, reduce low-end before boosting mids, and if it feels harsh, tame treble rather than increasing gain. Treat the amp’s EQ as “mix EQ,” not just a standalone tone knob.
To keep the playing feel natural, pay attention to response settings like presence, compression behavior, and damping. Guitarists often expect that palm-muted chords tighten up and pick attacks remain consistent across strings. If your plugin offers cabinet interaction or dynamic behavior controls, use them to restore that physical reaction. Test with several playing styles—chords, single notes, and palm mutes—so the amp behaves well under real musical demands, not just one riff.
Choose cabinets, mics, and effects for realistic results
After the amp core, focus on cabinet selection and mic modeling, because this is where realism and mix placement usually improve fastest. Start by selecting a cabinet that matches your genre reference, then fine-tune mic distance and angle for clarity versus thickness. A slight move in distance can dramatically change perceived low end and high-end texture, which is why incremental tweaks matter. If you record multiple takes, keep the cabinet and mic settings stable so performance changes stand out.
Once the tone foundation is solid, add effects in a practical sequence. Many producers prefer using the amp simulator first, then applying modulation, delay, and reverb so spatial effects don’t blur the amp’s definition. For reverb, use it like a seasoning rather than a blanket; if the guitar becomes hard to distinguish, reduce wet level or add a high-pass filter. For delays, synchronize tempos or choose rhythmic subdivisions that support the arrangement, and avoid long repeats that compete with vocals and drums.
Conclusion
Start with consistent input levels, define your target sound, and then move step by step through gain, EQ, cabinet, and mic choices until the tone matches how you play. Practical presets, quick tests across playing techniques, and careful effects routing help you reach polished results without endless guesswork. For flexible real-world workflows, many musicians explore tools like those found at oraclesound.com, including the RITUAL Amp Loader, to craft contemporary guitar tones with confidence. When you’re building a production-ready sound, treat the plugin as a full virtual recording path rather than a single tone knob. Compare your tone against reference tracks by listening for low-end control, midrange presence, and high-frequency smoothness, then adjust with small increments. Over time, you’ll develop a reliable method for landing the “best” sound quickly, even when you’re working with different guitars, tunings, and performance dynamics. That repeatable approach is what turns a great amp emulation into a dependable part of your recording workflow, supported by the range of Oracle Sound plugins at oraclesound.com.